The best Festool MFT accessories fix a specific problem at your bench: holding the work, checking that things are square, or keeping the top clear. Start with whatever slows you down most. A clamp, a layout square, and a storage rack do different jobs, so there’s no need to buy all three before you know which one you’re missing.
This guide is for the Festool MFT/3. We make two of the storage pieces below in our Medina, Ohio shop; the clamps and the square come from Festool and Woodpeckers, and we’ve described them from the makers’ own specs.
Check where the accessory attaches
The Festool MFT/3 has a top full of holes and channels along the sides. Before you order anything, figure out whether it goes in the holes in the top, on the frame, or on a guide rail. Something sold as an “MFT accessory” might only use one of those.
Check the exact table model and the accessory version, too. A storage product sold for several workbenches usually comes in different mounting versions, so pick the one for your bench. If you’ve modified your top or frame, measure before you buy.
Pick clamps for the work you do
Low-profile clamps that stay out of the way
Festool MFT-SP clamping elements hold the work from the side with a cam lever. Festool lists a low-profile design, padded faces, and use in 20 mm holes. They come in a set of two.
These are a good choice when an overhead clamp would get in the way of what you’re cutting or sanding. Plan where the work and clamps will sit before you start, and check your clearance; low profile doesn’t mean every tool will pass over them.
Screw clamps for rails and the table
The Festool FSZ 120 screw clamp opens to 120 mm. Its head slides into Festool guide rail slots and the MFT’s clamping spots. Check the opening against the thickest stock you clamp before you pick a size.
Think about what you clamp most often. A clamp that’s great for holding a rail down may not be the handiest one for a small part on the table. Start with a few clamps for the jobs you do every week and add more later.
Use a layout square to check your setup
The Woodpeckers MFT Layout & Assembly Square gives you a big reference for squaring the MFT fence to the guide rail. Woodpeckers lists 15″ legs, a 3/4″-thick phenolic body, and two 20 mm locating dogs, and the slots in the square make it useful for glue-ups too.
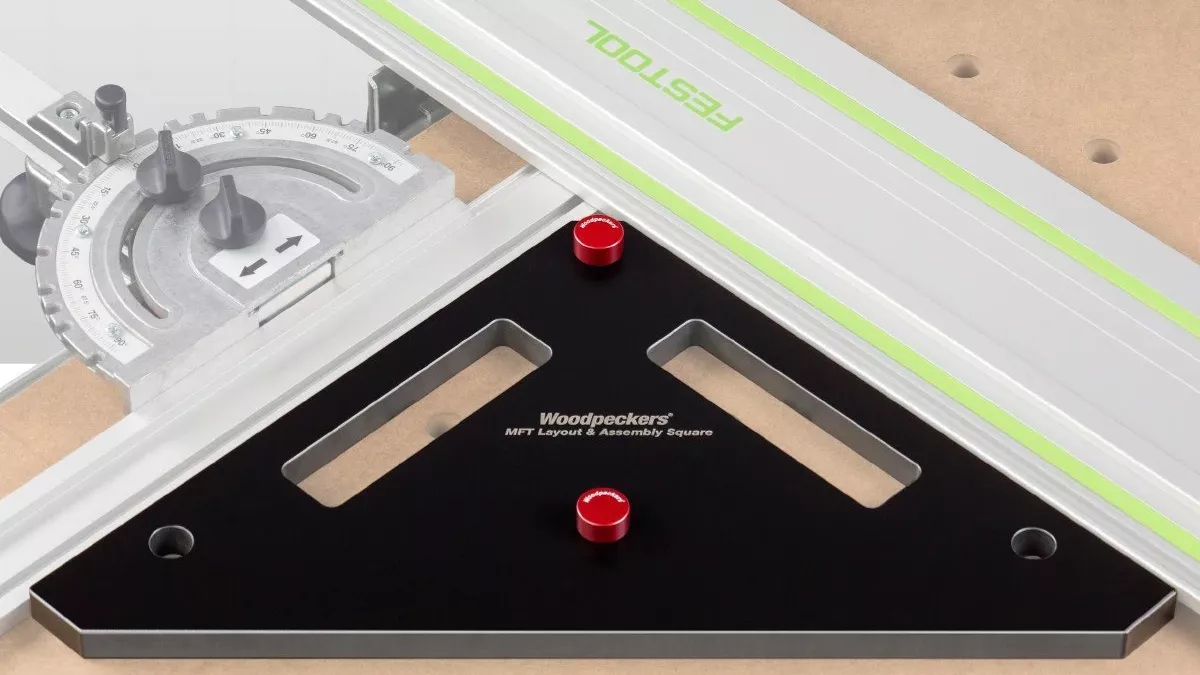
A square is for setting up and checking. After you adjust the fence, make a test cut and check it before you cut good material, and recheck if you’ve moved the table between jobs.
Keep clamps and small tools off the top
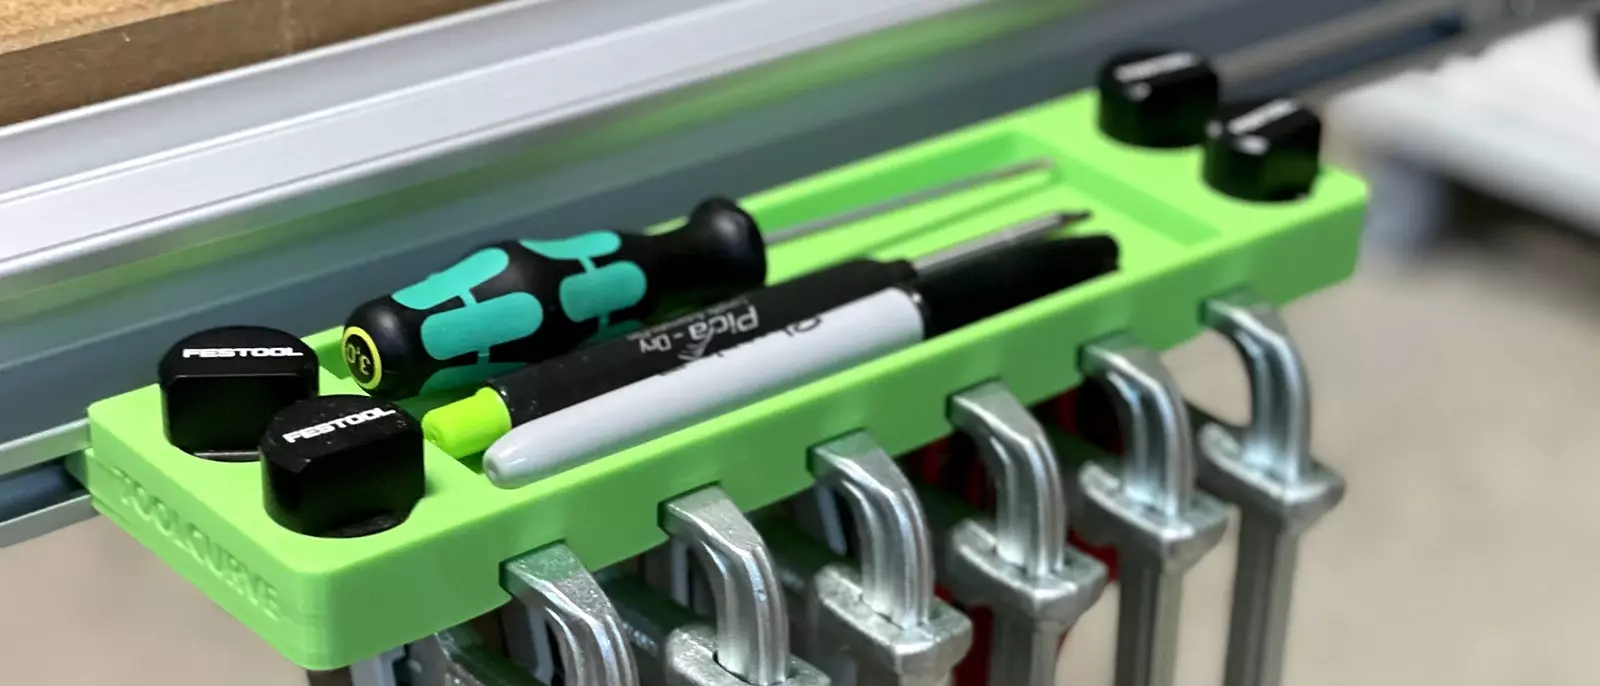
Our MFT/3 Utility Rack mounts to the side T-track and holds six quick or screw clamps, up to four bench dogs, and has a tray for pencils, rulers, and other small stuff. Pick the Festool MFT/3 version; we make it for other workbenches too.
It won’t hold your work or square anything up, but it gets the loose stuff off the top and keeps it within reach. Mount it where it won’t be in your way as you walk around the bench, and keep only the things you reach for every day on it.
A dedicated spot for bench dogs
If bench dogs are what’s cluttering your bench, our MFT/3 Bench Dog Holder holds both 20 mm and 3/4″ dogs and mounts to a side T-track. Choose the MFT/3 version for a Festool table.
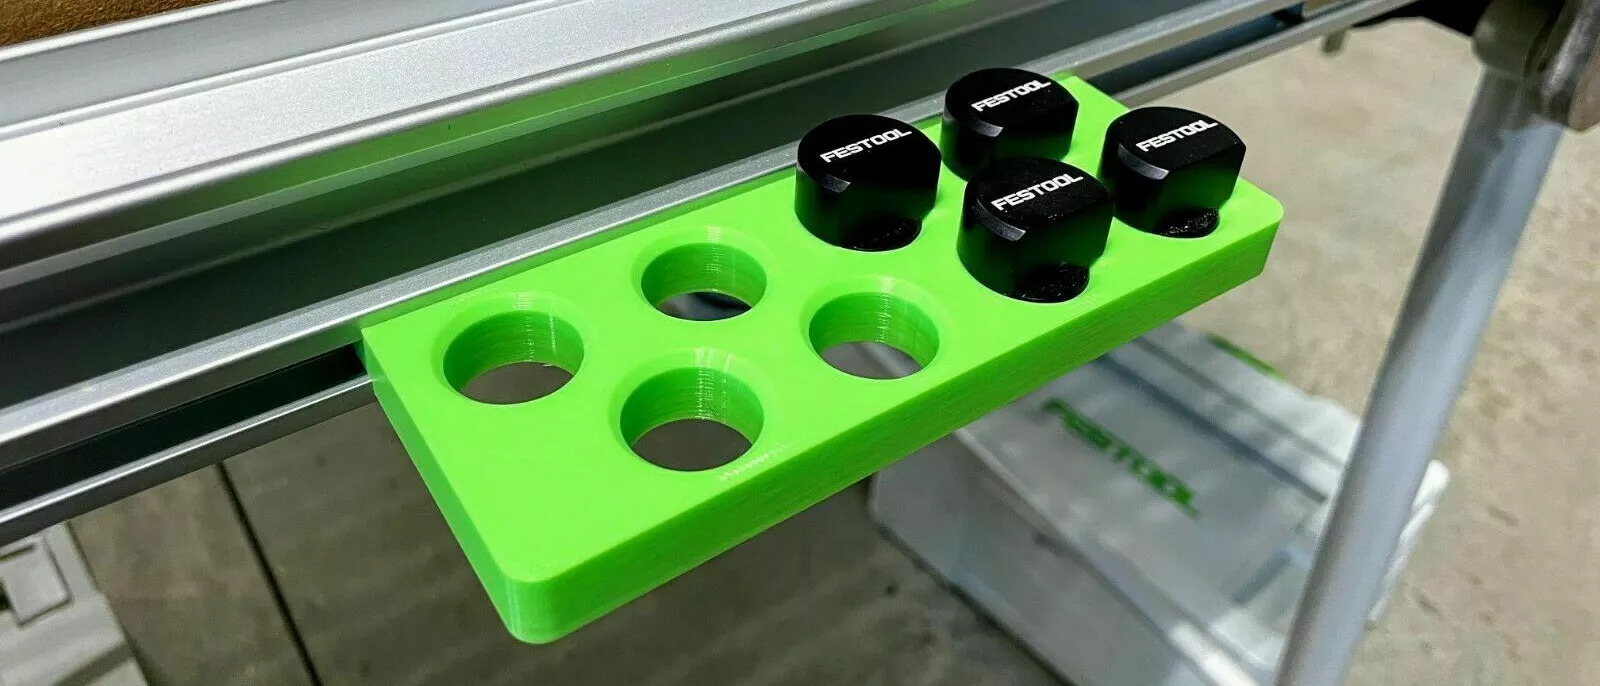
Just because the holder takes a dog doesn’t mean that dog fits your top well, so check the dog against your table’s holes separately. If you only need dog storage, go with the holder; if you’ve got clamps and small tools too, the utility rack does more.
What to add first
If holding the work is your problem, start with clamps. If your cuts aren’t coming out square, get a layout square. If clutter is what keeps slowing you down, add side storage. Before you check out, double-check the model, the mounting version, and what’s included.


Comments