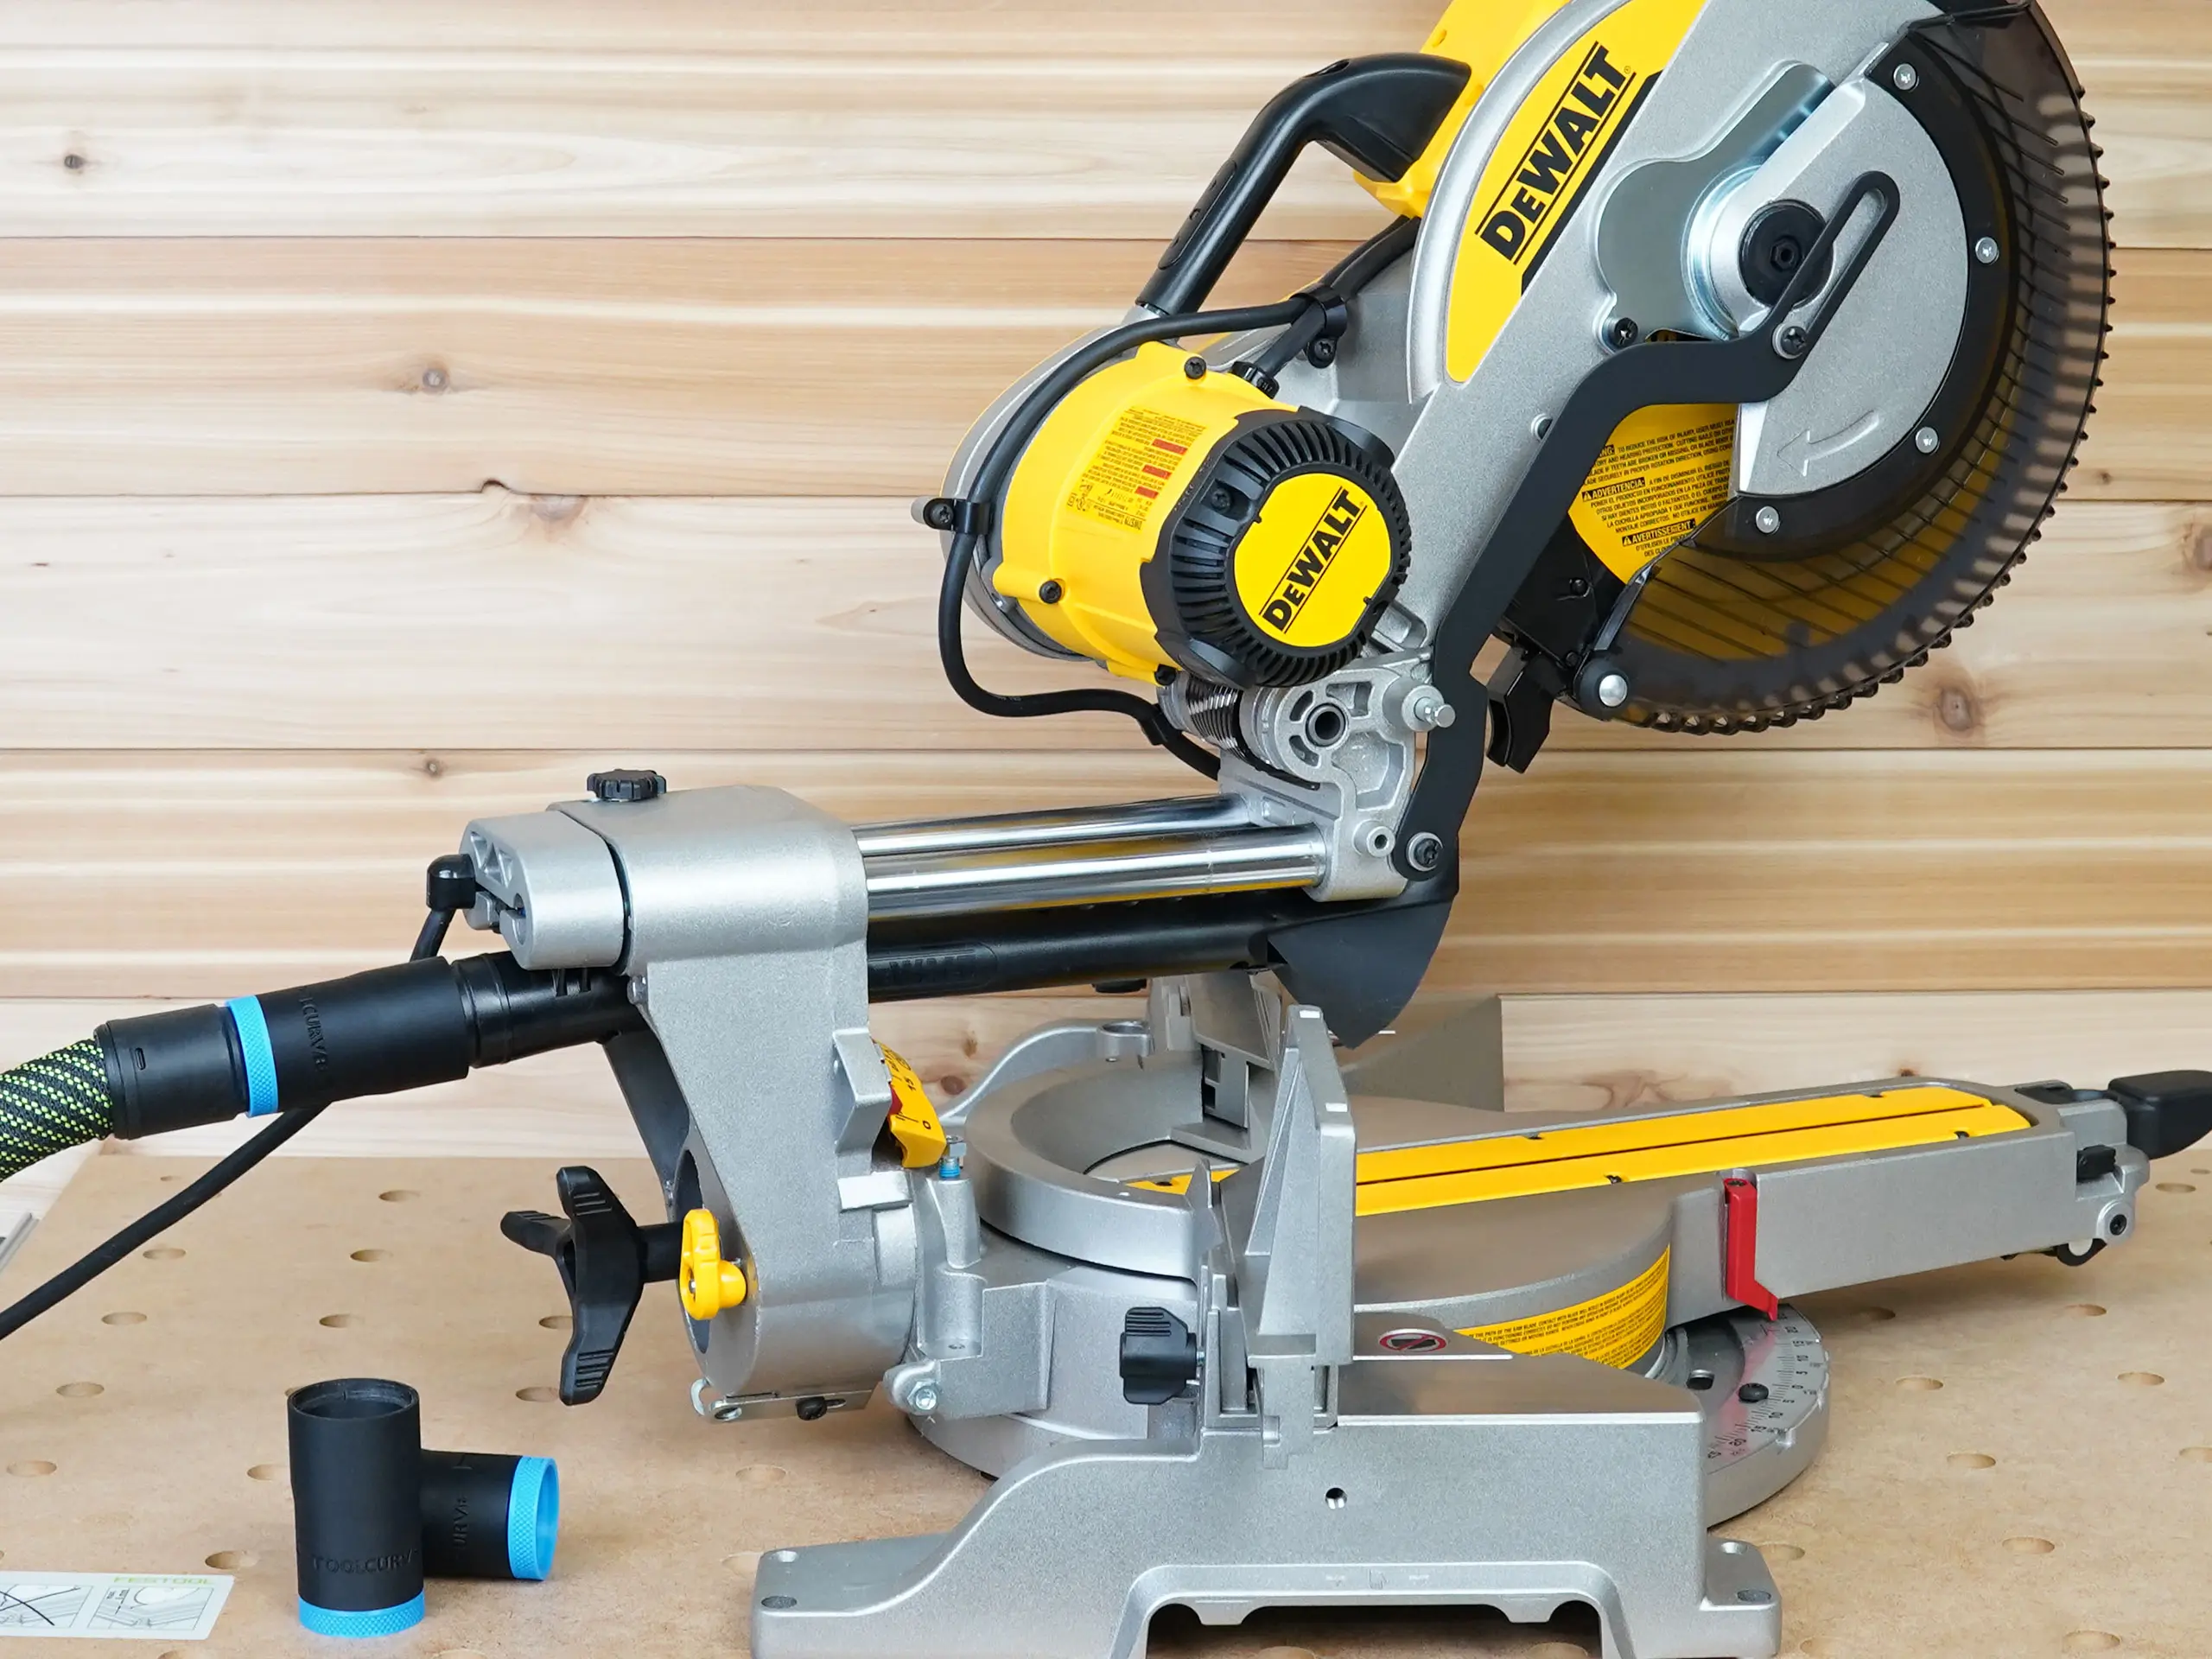
A DeWalt DWS780 makes a lot of dust, and its head travels a long way. It slides, swings and tilts. Hooking up a vacuum is really two jobs. First, match the adapter to the hose end you actually have. Second, make sure that hose can follow the head through every cut without snagging, pulling or kinking. Here’s how we’d handle both.
Some links in this article go to Amazon. As an Amazon Associate, ToolCurve earns from qualifying purchases.
Start with your saw’s type number
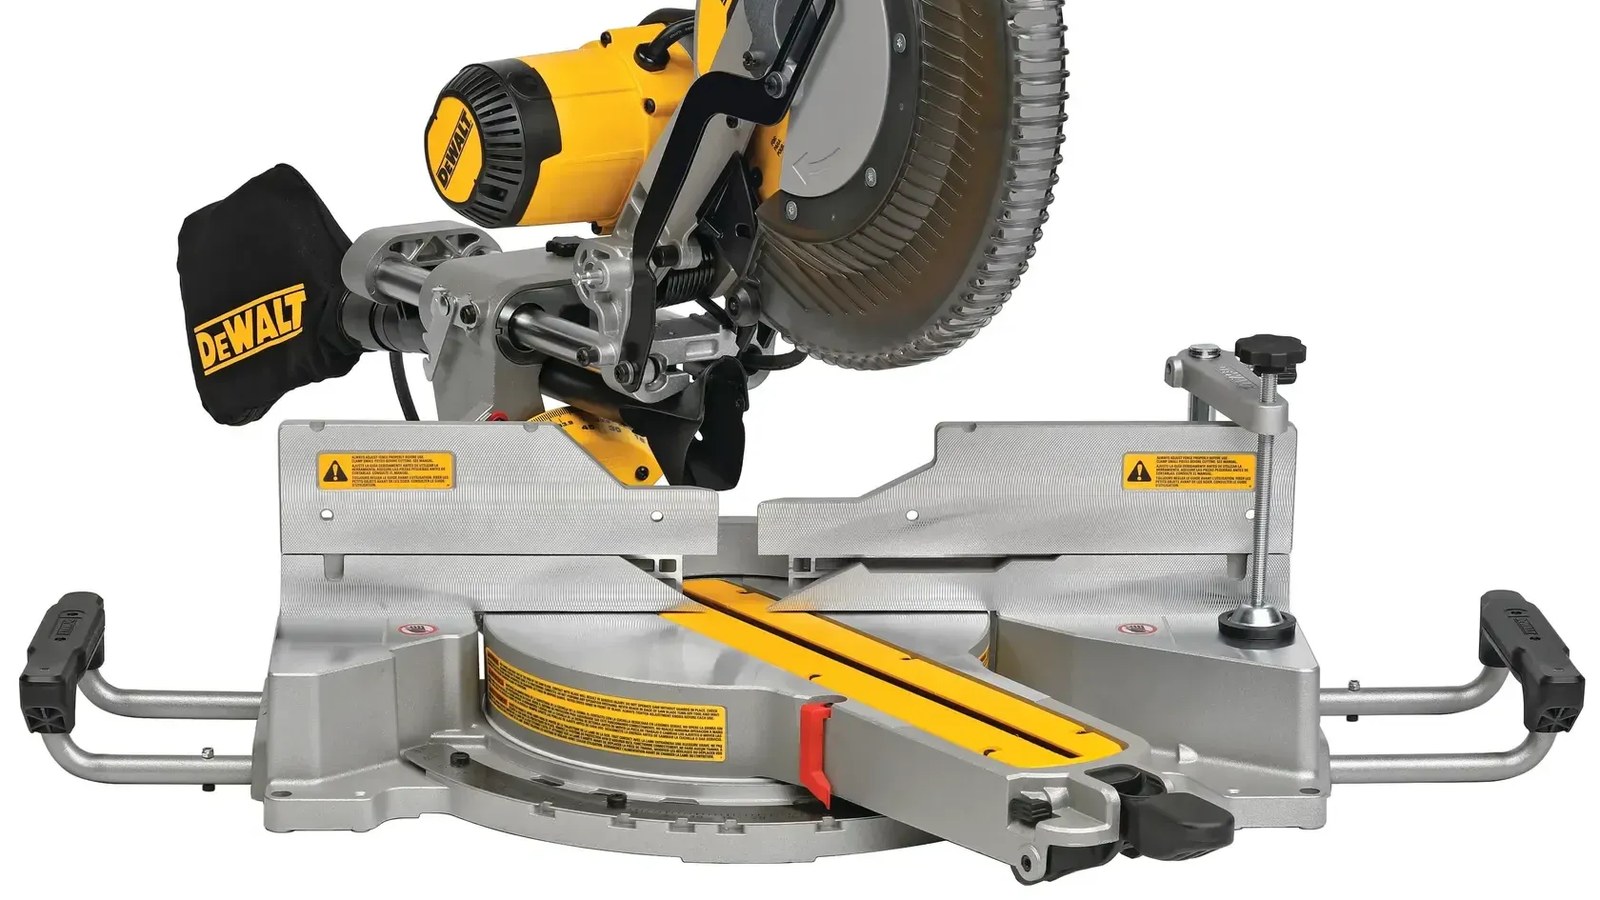
DeWalt’s DWS780 manual describes a built-in AirLock dust port. It takes either the supplied dust bag or a shop vacuum hookup. The DWS780 has been built in more than one production type, so find the type number on your saw’s nameplate. Then get the manual for that type from DeWalt. Before you order anything, compare the dust port on your saw with the one your manual shows.
If you’re setting the saw up fresh, DeWalt also has how-to videos for the DWS779 and DWS780, covering transport and blade changes, plus general videos on adjusting the miter and bevel. They’re worth watching before you start the clearance check below.
Identify the hose end, not the vacuum
Get this step right first. The brand on the vacuum doesn’t tell you the hose size. The inlet on the vacuum body doesn’t either. What matters is the end of the hose that will plug into the adapter on the saw.
Shop vac hoses often come with reducers and accessory fittings, and those change the answer. RIDGID’s VT1720 hose kit is a good example. It has a 1-7/8-inch accessory connection and comes with a reducer for 1-1/4-inch accessories. With the reducer on, the saw sees a 1-1/4-inch end. With it off, the saw sees 1-7/8 inch. It’s the same hose with two different answers.
To pin down your size:
- Find the hose’s model number on the cuff, the hose or the packaging. Look up its accessory connection size on the manufacturer’s page.
- Decide whether a reducer or wand fitting will stay on that end. If it will, size to the reducer, not the hose.
- If the hose came with a dust extractor, check the extractor’s hose spec. Extractor hoses are often listed in metric sizes like 27 mm or 36 mm.
Don’t size it with a tape measure across the cuff. Hose sizes are nominal, and an outside measurement often won’t line up with the number on the label.
Order the matching adapter version
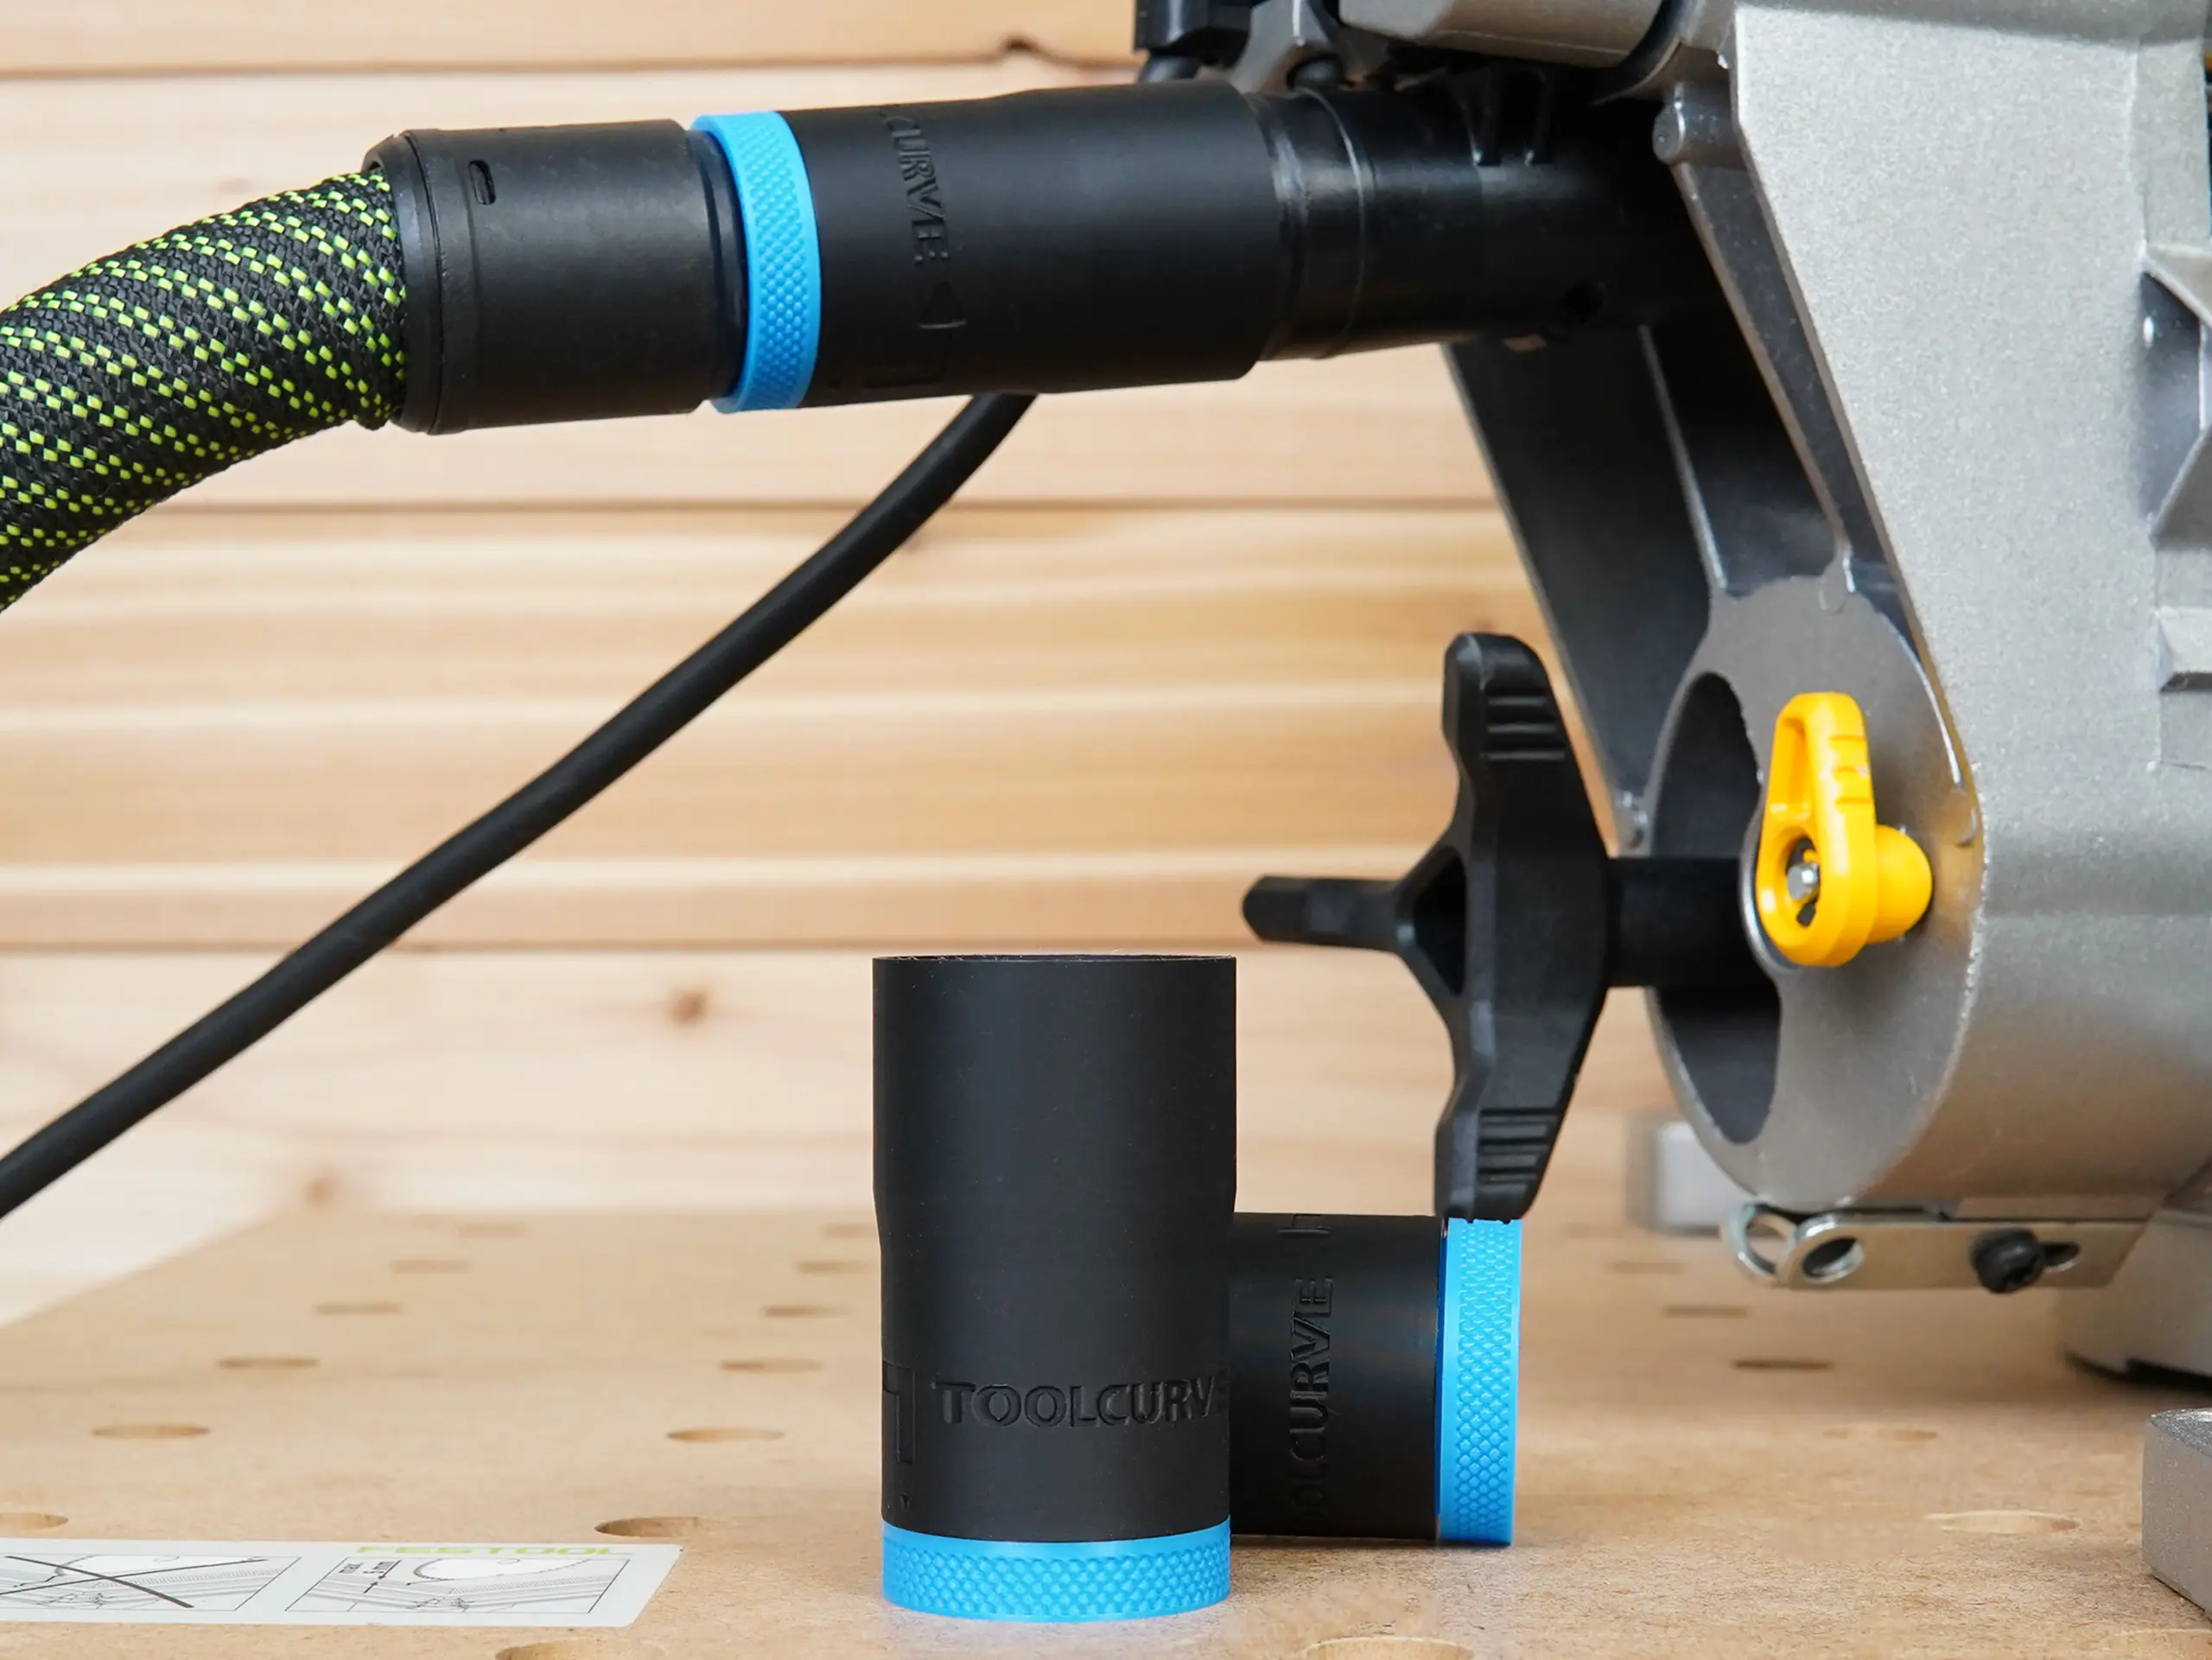
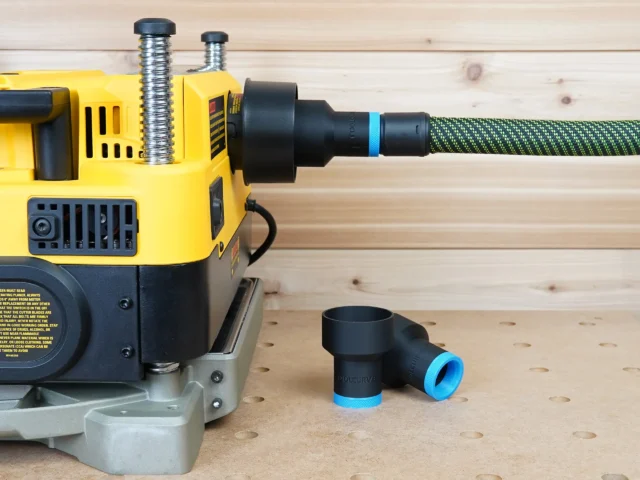
Our Hose Adapter for DeWalt Miter Saw lists the DWS780 as a fit. We make it in five hose versions: 27 mm, 36 mm, 1-1/4 inch, 1-7/8 inch and 2-1/2 inch. Order the one that matches the hose end you identified above.
| What you’re connecting | What to check | Version to order |
|---|---|---|
| Dust extractor hose with a metric cuff | The hose or extractor spec (27 mm or 36 mm) | The matching metric version |
| Shop vac hose with a reducer left on | The reducer’s size | The version that matches the reducer |
| Shop vac hose with no reducer | The hose’s accessory connection size | 1-1/4, 1-7/8 or 2-1/2 inch to match |
If you’re buying a hose just for this saw, think about the next section before you choose. Bigger hoses are heavier and less willing to bend, and on a sliding saw that weight hangs off a moving head. We haven’t measured dust capture on the DWS780 with any of these hose sizes, so we won’t quote you a percentage.
Still not sure? Send us the hose brand and model number, and tell us whether you run a reducer. We’ll help you pick the right version. That matters most with hoses that have swappable ends, like the VT1720.
Dry-run the hose through every position, unplugged
On a sliding miter saw, the dust port rides with the head. Every slide, miter swing and bevel tilt drags the hose along. DeWalt’s manual tells you to disconnect power before making adjustments. It also has you check, with the saw unpowered, that the fences and clamps clear the blade and head. Check the hose during that same dry run. This sequence is our own recommended setup routine, not a factory procedure.
- Unplug the saw. Leave the vacuum off.
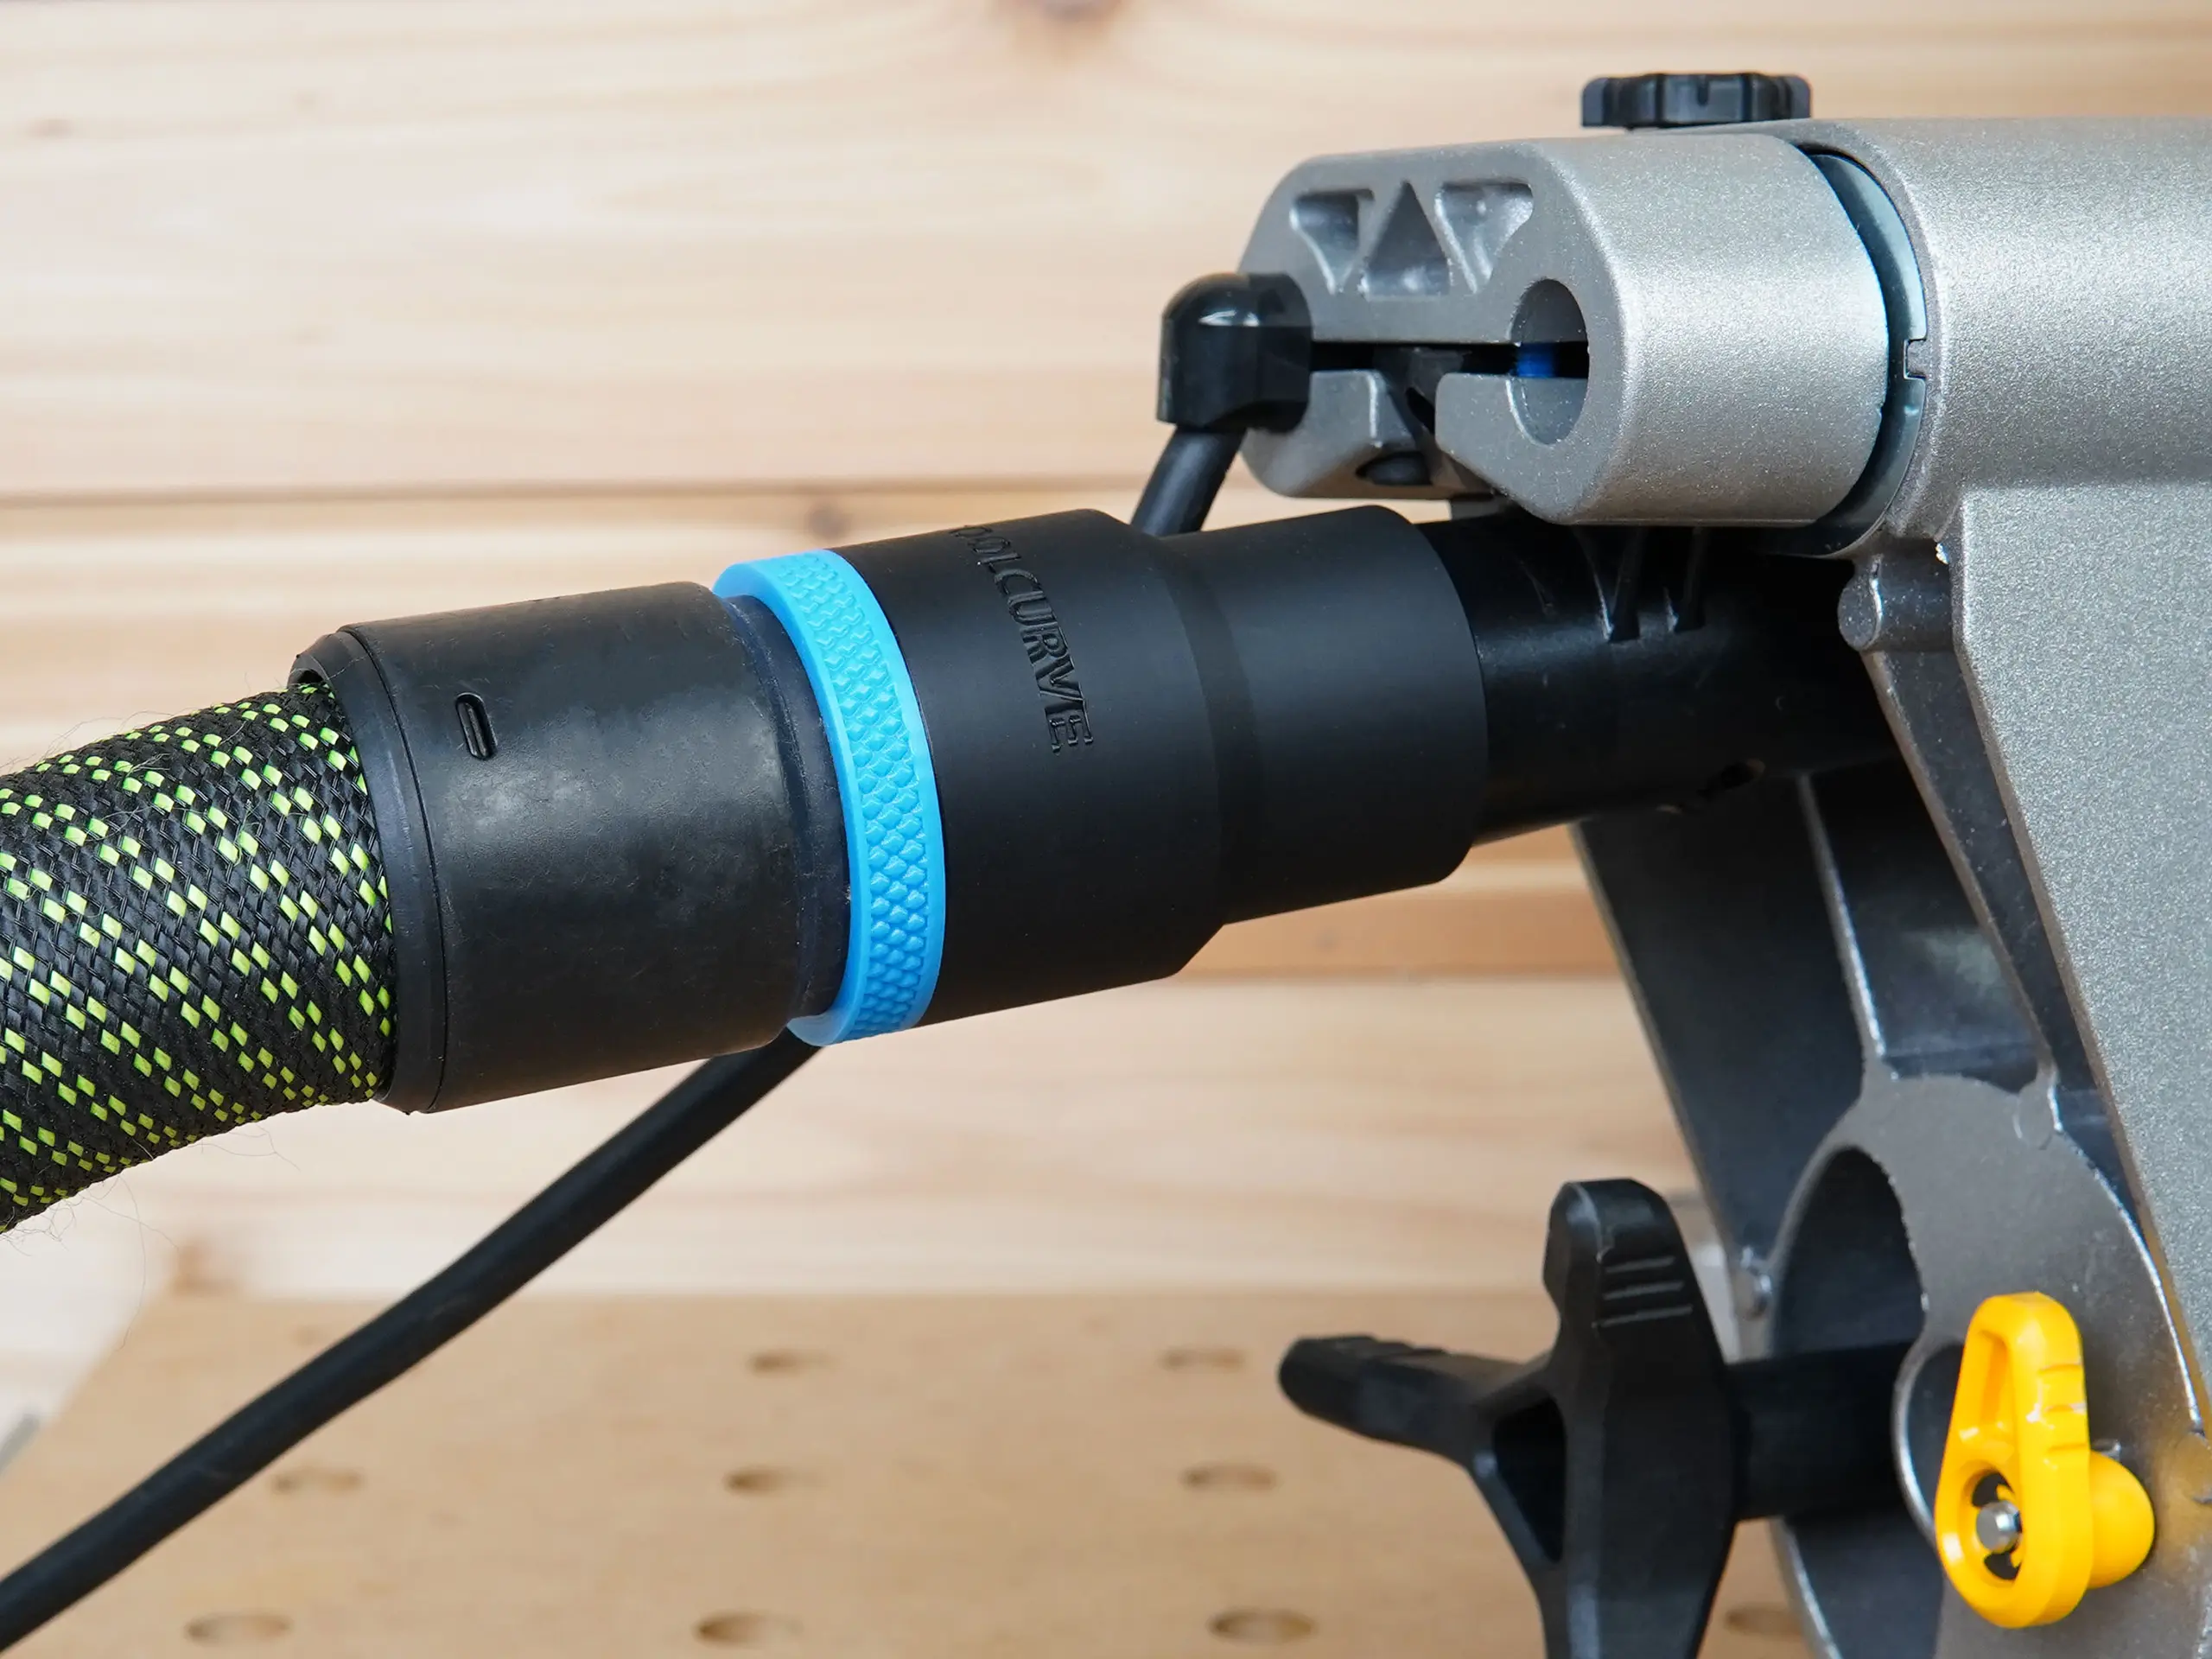
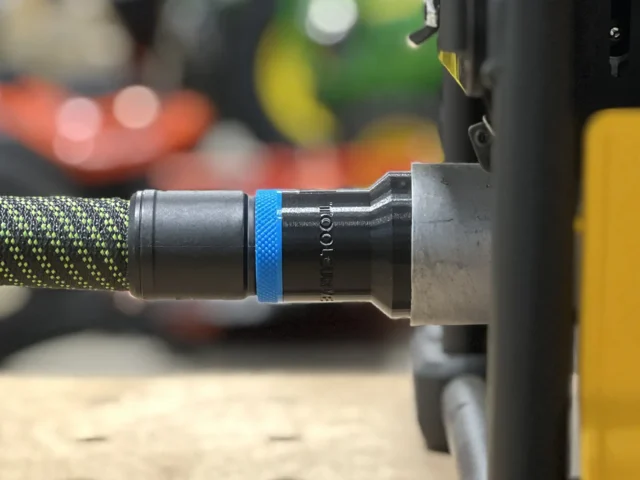
- Seat the adapter fully on the dust port, then push the hose fully into the adapter.
- Set the miter and bevel to 0. Push the head all the way back, pull it all the way forward, and lower it through the cut path. Watch the hose the whole way.
- Swing to each miter setting you actually use, out to the widest one you cut. Repeat the full slide at each setting.
- Tilt to each bevel you use and repeat the slide. Also run at least one combined miter and bevel setting. That’s where the head sits at its most awkward angle.
- At each position, check that the fences and any clamps clear, as the manual describes.
What to watch for
- The hose catching on the fence, a clamp, the back of the saw or the edge of the bench.
- The hose going tight at full forward slide and tugging on the adapter.
- A kink right at the adapter when the head is tilted.
- The hose’s weight pulling the head, so it doesn’t rest or return where it normally does.
- The hose lying across the table where your workpiece or your hand will be.
Route the hose so the head carries less of it
If anything caught or pulled during the dry run, change the hose routing. You don’t need to change anything on the saw. These steps help:
- Leave a slack loop behind the saw. Make it long enough for a full forward slide at your widest miter. Measure it during the dry run instead of guessing.
- Take the weight off the head. Hang the hose from a hook, bungee or boom above or behind the saw so the port isn’t holding it up.
- Keep the hose behind the fence line. It should never cross the table.
- Leave room at the back. The rails need space when the head slides back, and the hose needs space on top of that. A saw pushed tight to a wall can pass the dry run on the bench and fail it in place.
- Repeat the check whenever the saw moves. A new stand, bench or wall changes how the hose hangs.
Then power up
Once the dry run is clean, plug in the saw, start the vacuum and make a test cut in scrap at the setting you use most. If the hose pulls off at full slide, switch off and unplug the saw before you reseat it, then go back to routing. If the adapter feels loose on the hose, make sure the version you ordered matches the hose end you’re actually using, with or without the reducer. If it still doesn’t seat well, get in touch and we’ll sort it out.
One practical habit: unplug the saw any time you reach in to reseat the hose or clear a clog at the port.
If you’re matching hoses across several DeWalt tools, not just this saw, our broader guide to choosing a DeWalt hose adapter for Festool and shop vacs covers the general sizing. This page is only about getting the DWS780 connected and moving freely.
Comments