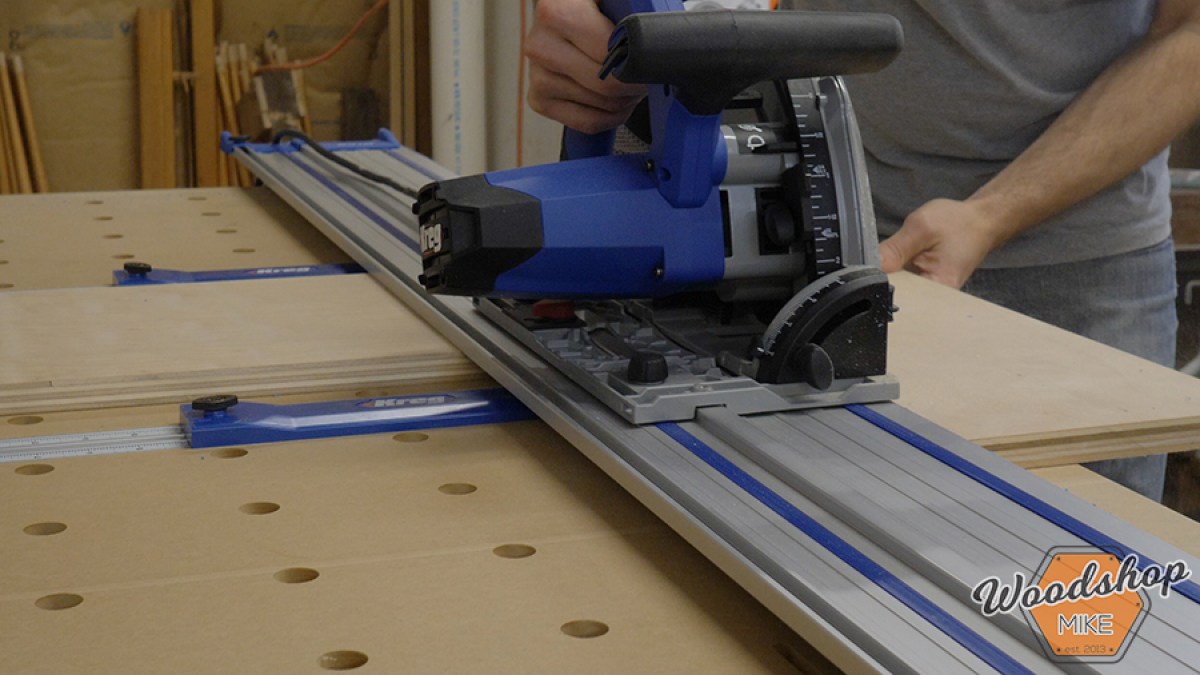
The phrase Kreg ACS track saw now covers more than one rail generation, so the most important setup step happens before you adjust a stop or connect a hose: identify the saw and track in front of you. Kreg still supports the first-generation 62-inch ACS430 rail for the corded ACS-SAWBB, ACS-SAW, and KPTPS1000 saws. Kreg also sells a newer Universal Track family—ACSCT26, ACSCT55, and ACSCT62—for its current saws. Those profiles should not be treated as interchangeable.
This guide concentrates on the first-generation Kreg ACS rail and the ToolCurve accessories specifically labeled for that system. It also explains how the newer system differs so owners can avoid a compatibility mistake. The procedures below are setup guidance, not a replacement for the manual supplied with your saw. Disconnect corded tools or remove the battery before fitting accessories, moving controls by hand, or checking blade clearance.
Start with the model number, not the color
For the first-generation setup, the matching rail is the Kreg ACS430. Kreg identifies it as compatible with the first-generation KPTPS1000, ACS-SAW, and ACS-SAWBB plunge saws. The ACS430 is 62 inches long and 7 1/4 inches wide, with a nominal cutting capacity of 50 inches off the project table or 48 inches on it. It uses an anti-chip strip as the cutline reference, anti-slip strips underneath, glide strips on top, and a cord manager for the power cord or extraction hose.
The current Kreg 20V Ionic Drive plunge saw is model KPTPS200B. It uses the newer Universal Track family. Kreg’s current compatibility chart says the ACSCT62, ACSCT55, and ACSCT26 Universal Tracks are not compatible with previous-generation Kreg ACS. That same chart also distinguishes previous-generation Accu-Cut from the new-generation Accu-Cut system. In other words, a product labeled only “Kreg track” or “universal track” is not enough information. Match the exact saw, rail model, and accessory before ordering.
Baseline setup for a straight cut
- Support the entire workpiece. Use a stable sacrificial surface or the ACS Project Table so both the kept piece and offcut remain controlled. Make sure the rail has enough room for the saw base to be fully supported at the beginning and end of the cut.
- Inspect the cutting system. With power disconnected, check that the blade is appropriate for the material and undamaged. Confirm that the anti-chip strip, glide strips, and underside grip strips are clean and firmly attached. Dust under the rail can defeat the grip that normally keeps it in position.
- Fit the saw to the rail. Seat the saw on the correct rail and use its track-adjustment controls as described in the Kreg manual. The goal is smooth travel without side-to-side play—not a setting so tight that the saw binds. Move the unplugged saw through the intended travel before making a cut.
- Set bevel and depth. The first-generation ACS-SAWBB adjusts from -1° to 47° and has a maximum cutting depth of 2 1/8 inches at 90° or 1 1/2 inches at 45°. Set only the depth needed for the material and support beneath it, then lock the adjustment. Recheck depth whenever bevel angle changes.
- Place the anti-chip edge on the waste-side boundary. The ACS430 uses a zero-offset design, so the anti-chip edge represents the cutline when it is correctly trimmed and in good condition. Mark both ends of the cut, align the edge to both marks, and verify which side is waste before starting.
- Secure when conditions demand it. Kreg describes the first-generation rail as clamp-free on clean material, but its troubleshooting guidance says to use track clamps if the rail can slip on a slick surface. Never rely on friction after you have observed movement.
Anti-kickback and anti-tip are different controls
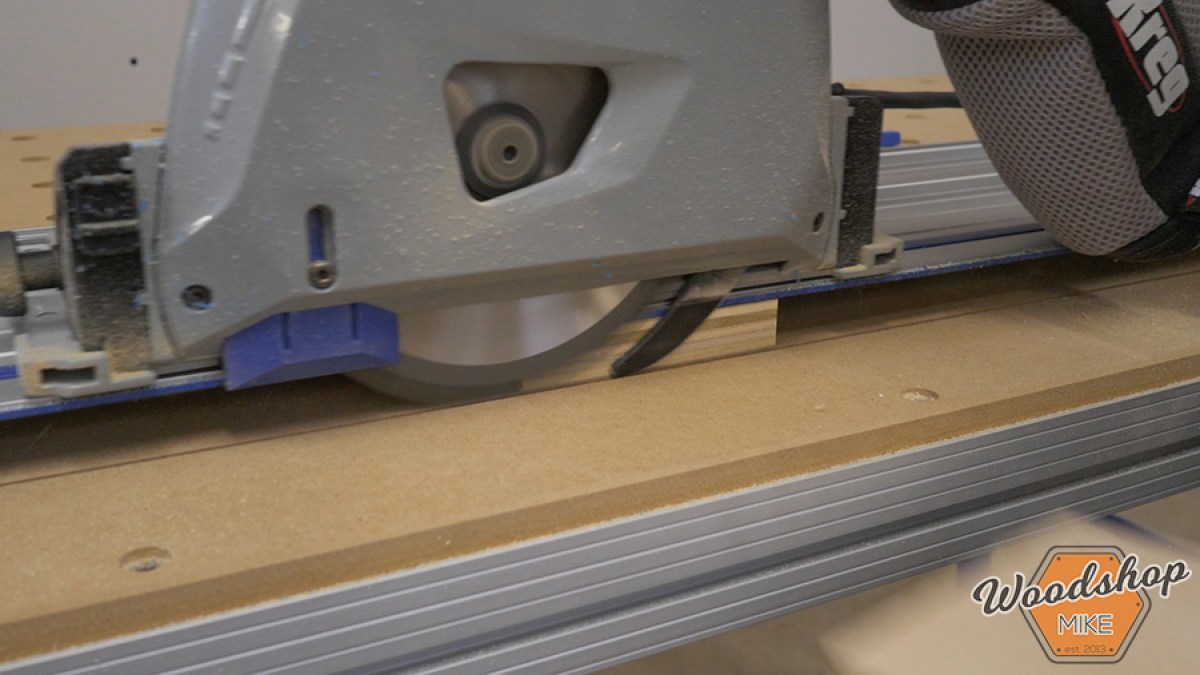
The saw’s selectable anti-kickback control helps prevent backward movement on the track if the blade binds or meets a hard spot. The riving knife follows the blade to help keep the kerf open. Neither feature is permission to twist the saw, reverse through a cut, or work without stable support. The Kreg manual also notes that an engaged anti-kickback control can prevent the saw from sitting flat while it is first being placed on the rail, so follow the manual’s sequence rather than forcing the base into position.
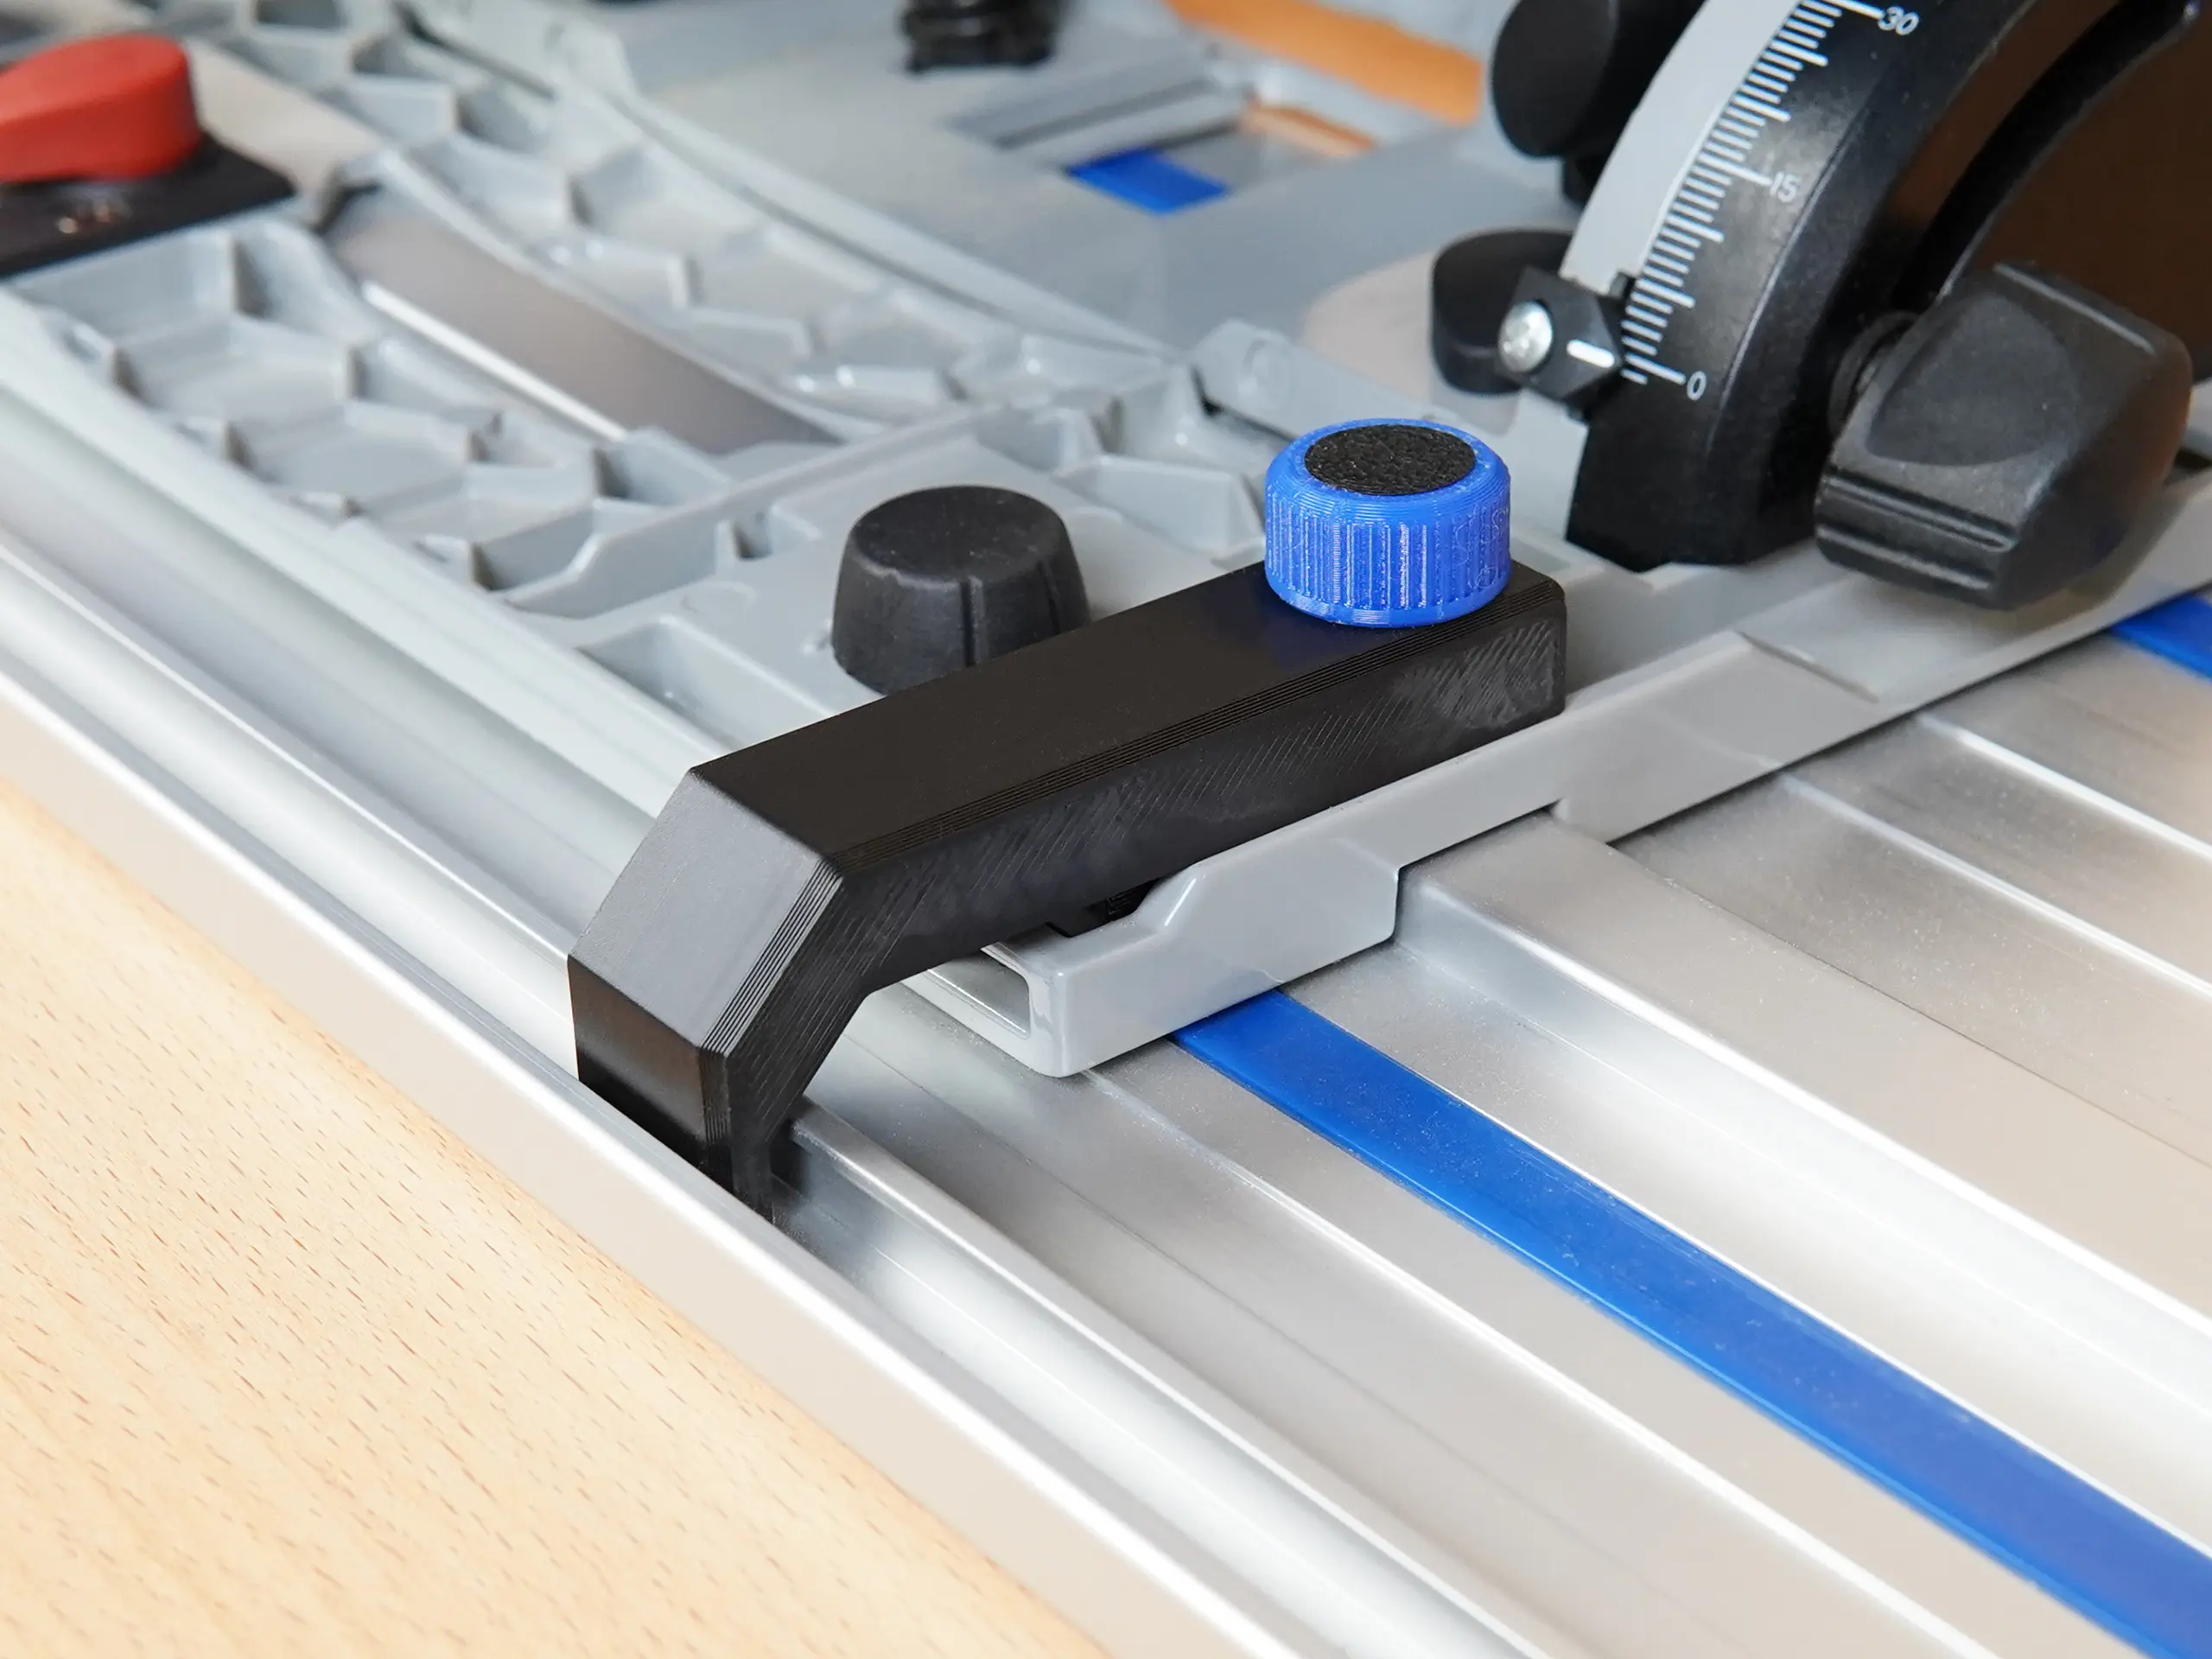
Anti-tip control addresses a different problem: keeping the saw base engaged with the rail during bevel or angled work. The newer Kreg Universal Track advertises an integrated anti-tipping design for compatible current-generation saws. For a first-generation Kreg ACS setup, the in-stock ToolCurve Anti Tip Guide compatible with the Kreg ACS track saw is designed to secure the saw to the matching rail during angled cuts. Install it only on the system named on the product page. With power disconnected, test the full plunge and travel range and confirm that the guide, knobs, hose, and workpiece do not interfere. It supplements the saw’s controls; it does not replace the riving knife, electronic brake, anti-kickback control, or two-handed operation.
Use drop stops and limit stops for different jobs
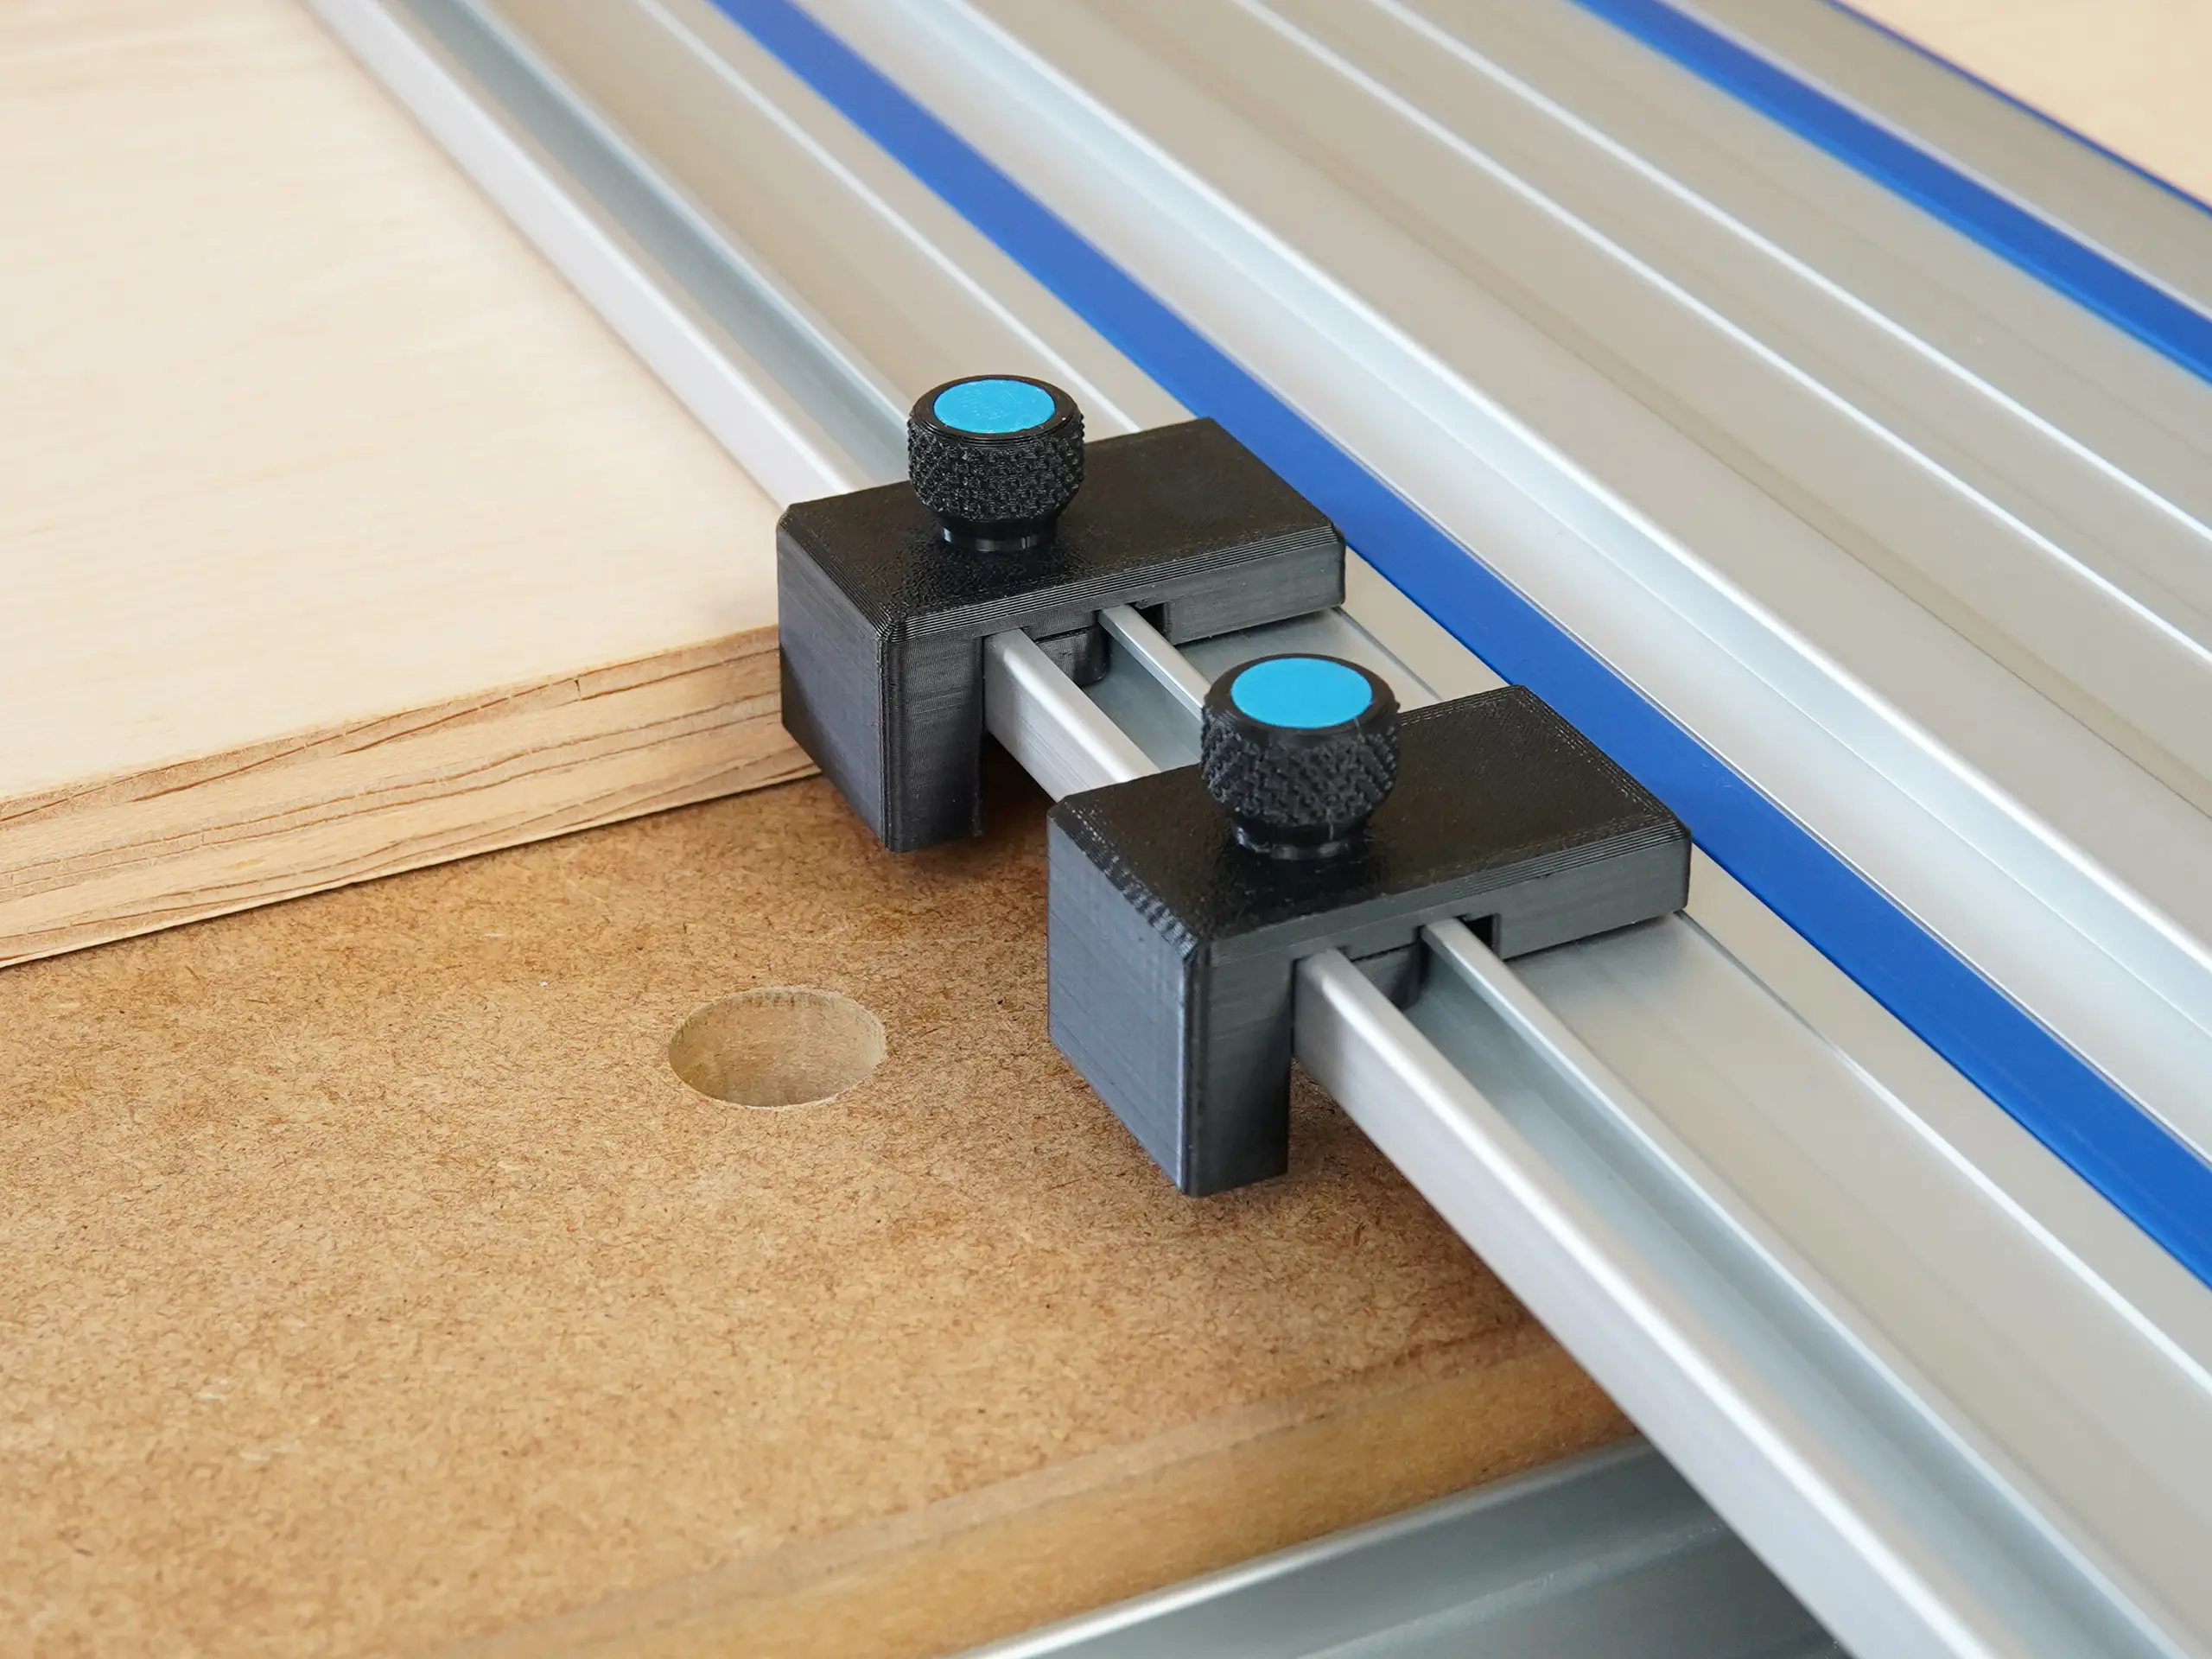
A stop is valuable only when its reference is understood. The Drop Stops for the Kreg Track Saw ACS guide rail reference an edge of the workpiece to help place the rail at the same offset repeatedly. They are useful when several cabinet parts or panels need the same crosscut location. Set both drop stops against the same reference edge, snug their knobs, and check that the rail remains square to the work. Make a test cut on scrap before committing a stack of finished parts.
The Limit Stops compatible with Kreg ACS guide rails attach to the rail slot and create positive start or end references for the saw or for guided routing. A pair can help define a repeatable travel window. Used with drop stops, they can turn the rail into a physical “story stick”: the drop stops repeat the rail’s position on the panel, while the limit stops repeat a position along the rail.
Do not use a limit stop as a substitute for checking blade position. Saw geometry, bevel angle, blade diameter, and the location of the saw base relative to the stop all affect where the teeth enter and leave the material. Establish the stop position with the tool disconnected, verify the blade path, and prove the setup on scrap. Tighten knobs by hand and recheck them periodically; overtightening can damage a printed accessory or distort how it sits in the rail slot.
Plan dust collection so the hose cannot steer the saw
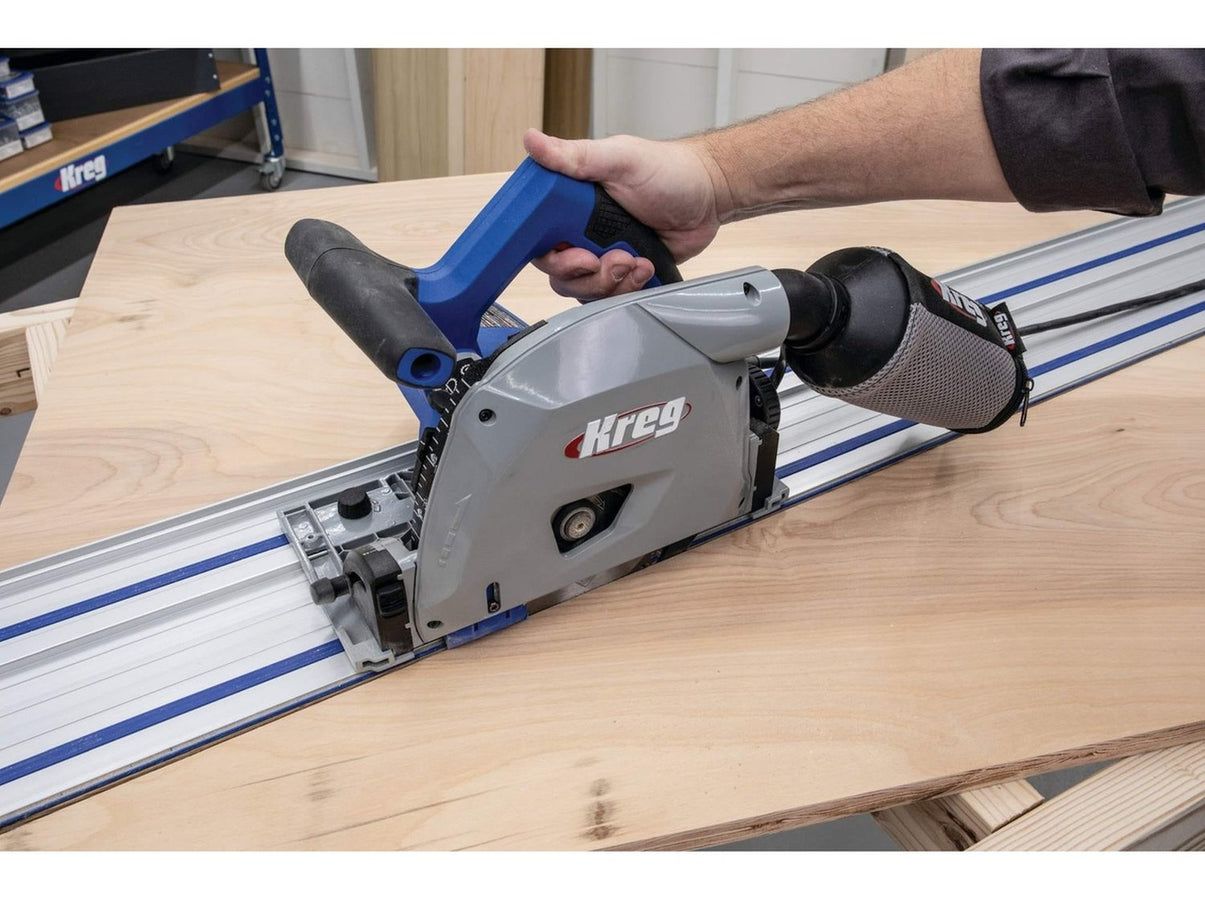
Both generations of Kreg plunge saw include a dust port and dust bag, and an extractor can improve chip control when the connection and airflow are appropriate. On the first-generation saw, Kreg describes the dust port as approximately 40 mm or 1 1/2 inches. The current ToolCurve catalog lists an in-stock hose adapter for the Kreg track saw, plus a No Snag dust port for Kreg track saws that angles the hose upward to reduce catches on the rail or workpiece.
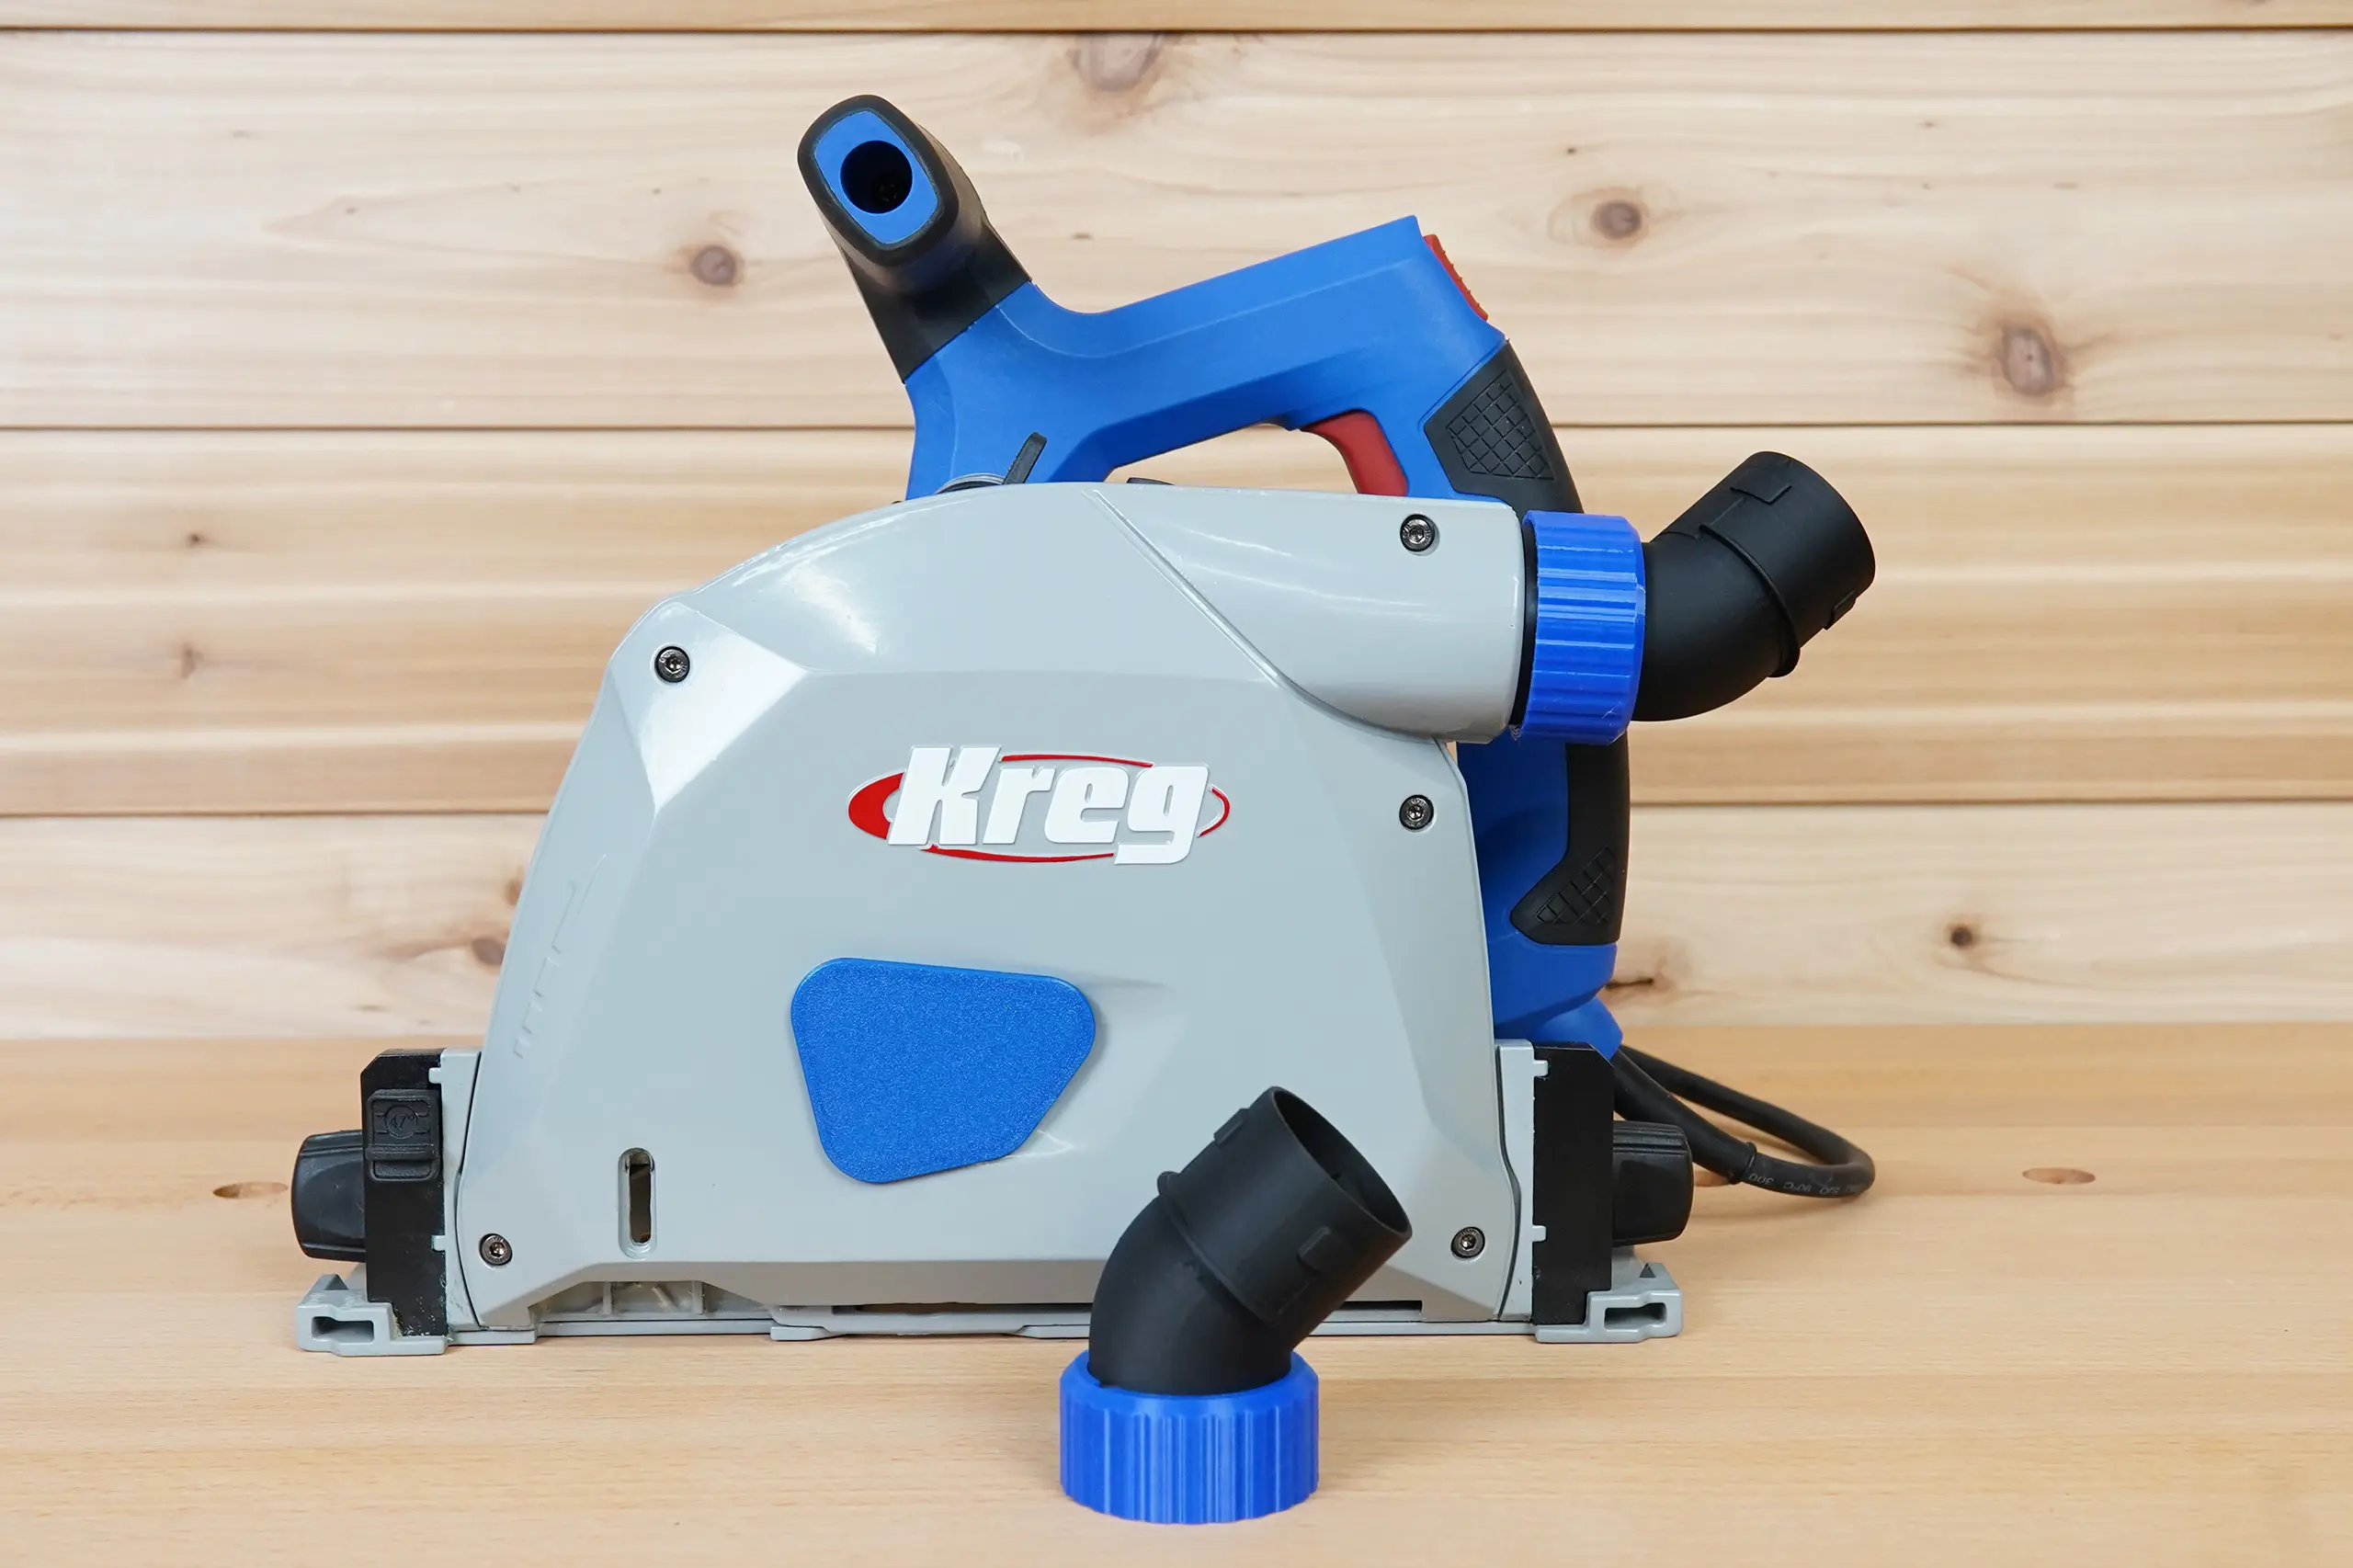
Whichever connection you use, test it before cutting. The adapter should seat securely without stressing the saw’s port. Give the hose enough slack to reach past the end of the cut, route it behind the saw, and use the ACS430 cord manager when appropriate. Support a heavy hose overhead or from the bench so it does not pull the saw sideways. Check that suction does not collapse a flexible hose and that the extractor is suitable for the material being cut.
An in-stock ToolCurve arbor dust cover for the Kreg ACS saw closes the blade-housing opening to improve containment on the compatible saw. Remove power before installing it and make sure it is fully seated. Because it is designed to pull off for blade access, include it in the pre-cut inspection rather than assuming it remained secure in transport.
Protect the reference surfaces between jobs
A straight rail can still produce a poor result if its anti-chip edge is torn, the end is dented, or debris is packed under the grip strips. Store the rail flat or supported so it cannot bow. The in-stock Kreg ACS guide rail protective caps are designed for the first-generation ACS profile and help shield the aluminum ends and the end of the splinter guard during storage and transport. Remove caps before connecting rails or starting a cut, and inspect the anti-chip edge after any impact.
A repeatable pre-cut checklist
- Confirm the saw model, rail model, and accessory generation.
- Disconnect power while setting depth, bevel, guides, stops, and dust accessories.
- Support both the workpiece and offcut; keep the blade path clear of the bench and hardware.
- Clean and inspect the rail strips, blade, riving knife, and dust path.
- Check smooth saw travel without sideways play or accessory interference.
- Align the anti-chip edge to two marks and identify the waste side.
- Clamp the rail if the surface or cut direction allows any slip.
- Route the cord and hose with slack beyond the end of the cut.
- Verify anti-kickback and anti-tip controls according to the saw manual.
- Prove new stop positions and bevel setups on scrap.
The most useful Kreg ACS upgrades are the ones that remove a specific source of variation: drop stops repeat the rail’s relationship to the panel, limit stops repeat travel along the rail, anti-tip control stabilizes a compatible bevel setup, and a managed hose reduces drag. Start with a correctly matched saw and rail, add one control at a time, and validate each setup before production cutting.
Comments